8 tips for Instantly Better Instagram Photography
1. Get by a Window
Photographers obsess over lighting, and the reason is because it can make or break a photo. You don’t need to invest in any lighting kit so long as you have a window that gets natural sunlight, simply place whatever it is your photographing by the window, ideally at the time of the day that the room gets moderate or good light. You can apply this for portraits and video too, by facing into the light (resist the urge to blink and you’ll be blessed with the appearance of a glowing complexion, and a portrait that looks like it was taken with something much more pro than a smartphone by a window!)
2. Avoid Unintentional Shadows
Be careful to avoid shadows from your own arm and the phone itself unless you intend to make the shadows themselves a feature (see above for some beautiful examples of how this can look great). This does take a little practice, but just move around your subject matter until you find the spot where your shadow isn’t in shot or can easily be cropped out. It’s not a bad idea to buy a large piece of card or paper online and use this as the background for your photo, it also means that if you have perfectly laid out everything and then find you have a big shadow in it, you can simply lift or rotate the sheet of paper and not have to reassemble everything.
3. Get the angle right
One of the main reason your camera roll doesn’t look like it’s full of perfect images (despite snapping away at everything) is that you’re probably not taking enough care to really get the right angle i.e. if you’re taking a photo from above, make sure your camera is really directly above, and not coming from a slight angle. You might feel less on an idiot quickly snapping something rather than jumping on a chair and hovering over it, but the truth is your image will be far, far stronger if you take the time to get it right.
4. Get styling
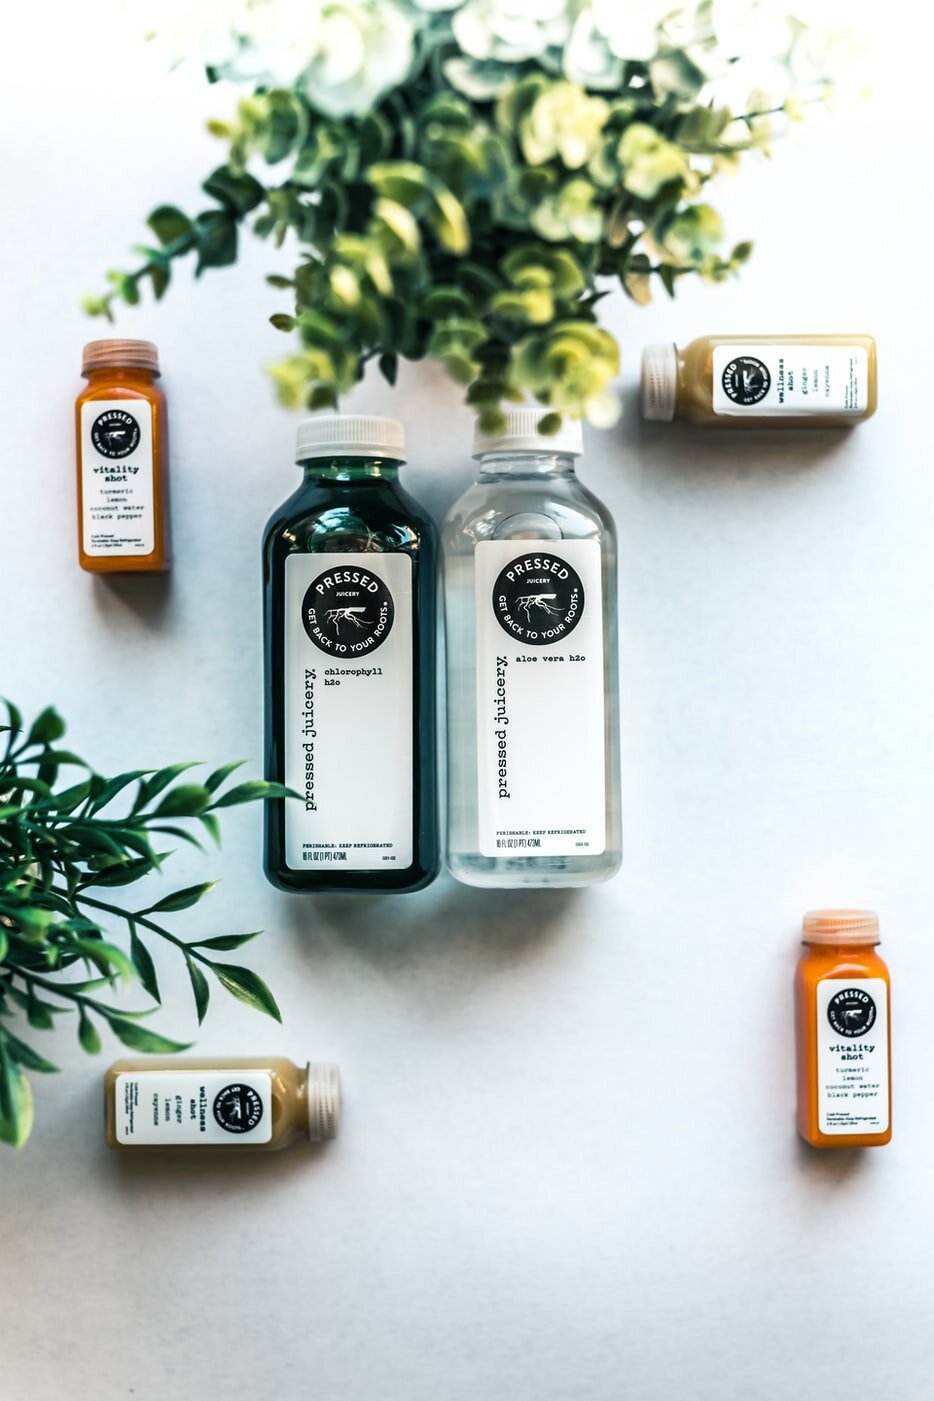
If the seismic growth of Instagram has taught us anything, it’s that people love photos that tell a story, so elevate your picture by creating a scene around whatever it is you’re photographing. The biggest rule here is to remember that backgrounds don’t have to be white and seamless! Get creative with wooden floorboards, soft or silky fabrics, marble kitchen surfaces, textured paper or simply your bedsheets, and build up a scene using flowers, journals, cutlery, jewellery, your own hand (or that of your housemate or partner!) I’ve included below a wealth of great examples, from artists to food businesses, beauty brands to fitness pros – there’s no industry this can’t be applied to.
Bonus tip - try adding the illusion of action, like someone slicing into the cake or a (clean and possibly manicured) hand lingering over your product.
5. Get A Tripod
If you don’t have a loving partner or willing housemate to hold your phone, why not splash out £15 and get a tripod for your phone? Here are three I like – best for shots from above, best for uneven surfaces, best for portraits (and this one will work if you have a camera too).
Use your tripod as you paint a picture, write something meaningful, cook a recipe, craft your jewellery or otherwise demonstrate your product. Position the camera to look down on your table for perfect time-lapse videos and enviable flatlays.
6. Props
Visual storytelling is all about the props you have – almost anything can be a prop or a product stand – pebbles, vintage books, a cute pot plant, fresh flowers, baskets, bowls, an eye-catching rug, old photos and postcards, scrabble letters, paint brushes, sliced fruit, sequins... get inventive!
7. Get closer
The perfect image is often about the right framing, and thanks to the clever selective focus in our smartphones, it’s never been easier to get a beautiful crisp macro image – of a recipe book, flower or detail on your product. The blessing here is also that it doesn’t matter how small or messy your living space is. A beautiful trick here is to get a narrow depth of field – that is photograph something through or behind something closer. This could be photographing a teacup with your camera close to the leaves of a pot plant and the cup further away or getting another person to photograph you cooking/making/painting from over your shoulder.
8. Use your home
Finally - we’re stuck in them at the moment, so let’s use them! If your home is something you feel proud of, then there’s never been a better time to make the most of it and feature it as a location for your photoshoot, from images of you on your sofa or table/desk (if you are a founder or service business) to photos of products on side tables, bookshelves or the mantel piece, your own house can be a great canvas for photography. Rent, have kids or otherwise unable to do this? Find one area you can style up – no matter how small - and get making that content! Rosie at PR Dispatch has some great insight for environmental portraits in the home, and lingerie brand Dora Larsen is a great demonstration of how a fashion brand can embrace interior shots as part of their brand aesthetic, rather than clean studio shots.
I hope these tips help you, and I can’t wait to see what you come up with! Tag me @carabendon if you use any of these tips on your grid!
All images used are courtesy of Unsplash, and are for demonstrative purposes only. They may be taken with a camera rather than a smartphone but are intended to show the 8 tips in this article.


